 |
|
|
|
|
 |
 |
 |
 |
 |
 |
 |
 |
| Bike | Climb | Fish | Geocache | Hike | Hunt | Mountain Bike | Tour Cycle |
|
|
 |
 to zoom out. to zoom out. to exit Altimeter Plot
Controls. to exit Altimeter Plot
Controls. |
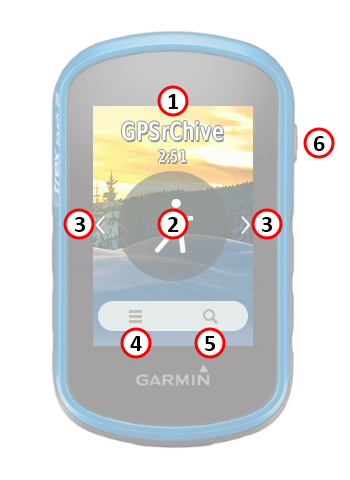
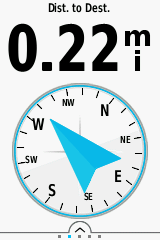
Compass |
|
 |
|
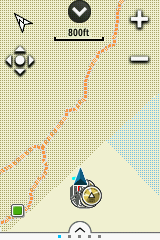
Map |
|
 |
|
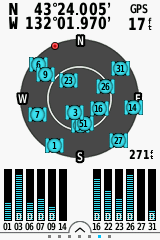
Satellite |
|
 |
|
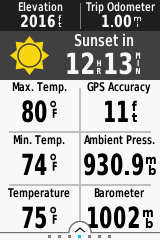
Trip Computer |
|
 |
|
VIRB Remote |
|
 |
|
 |
|
 |
|
|||
|---|---|---|---|---|---|---|
Swipe Up or Press |
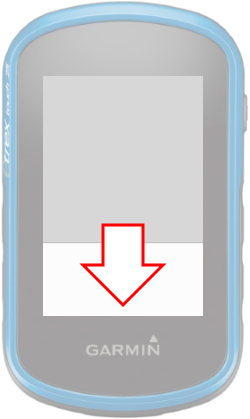
Swipe Down or Press |
|||||
 |
 |
 |
||
|
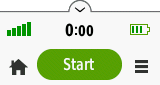
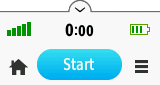
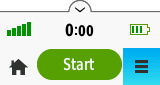
Track Log Not Recording |
Press [Start] to
Begin Track Log Recording |
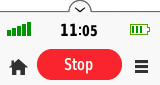
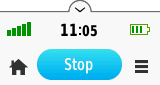
Track Log Currently Recording |
||
 |
 |
 |
||
| Press
[Stop] to
Pause and/or Save Track Log Recording |
Press
the Home Screen |
Press
Menu for Current Data Screen |